How to Make Exfoliator With Sugar
To make an exfoliator with sugar, mix granulated sugar with olive oil or coconut oil. Gently massage onto the skin and rinse off.
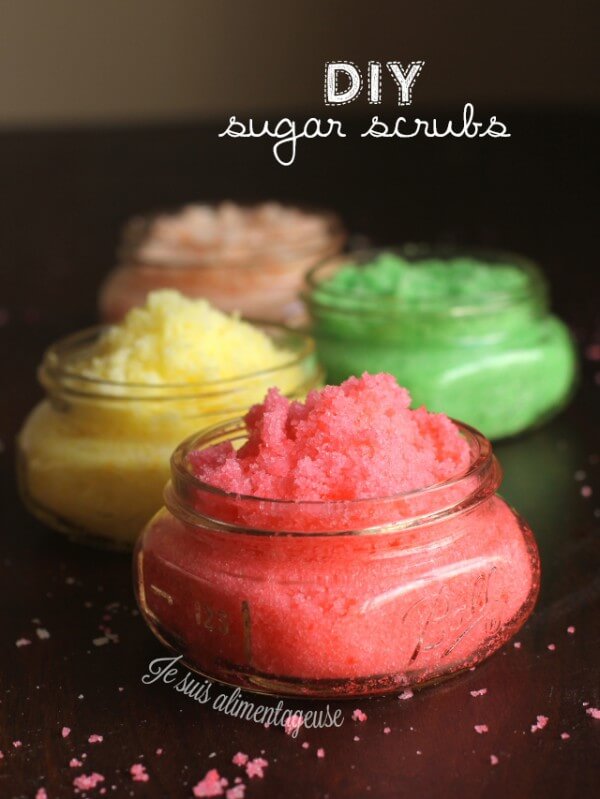
How to Make Exfoliator With SugarLooking to create your own exfoliator at home? Making an exfoliator with sugar is a simple and cost-effective way to achieve smooth and glowing skin. By using natural ingredients like sugar and oil, you can create a gentle yet effective exfoliating scrub that helps remove dead skin cells and reveal a fresh complexion.
Not only is it easy to make, but it’s also customizable to suit your skin’s needs. We’ll explore the benefits of using a sugar exfoliator, the steps to create one, and some important tips for using it effectively. Let’s dive in and discover how you can make your own sugar exfoliator for healthy, radiant skin!
Introduction To Sugar Exfoliators
Benefits For Your Skin
Sugar exfoliators offer numerous benefits for your skin, making them a popular choice for those looking to achieve a healthy, glowing complexion. The natural properties of sugar make it an excellent exfoliating agent, helping to remove dead skin cells and promote cell regeneration. Its gentle abrasive texture helps to unclog pores and prevent acne, while also improving skin texture and promoting a more even skin tone.
Why Choose Sugar?
When it comes to choosing an exfoliator, sugar is a standout option for several reasons. Firstly, its granules are gentle on the skin, making it suitable for all skin types, including sensitive skin. Additionally, sugar is a natural humectant, meaning it helps to retain moisture and keep the skin hydrated. This makes it an ideal choice for those looking to exfoliate while also nourishing and protecting their skin.
Types Of Sugar For Exfoliation
When it comes to creating a homemade exfoliator, sugar is a popular and effective natural ingredient. The types of sugar used for exfoliation can vary, each offering unique benefits for the skin. Understanding the differences between brown sugar and white sugar, as well as considering organic options, can help in choosing the right sugar for your DIY exfoliator.
Brown Sugar Vs. White Sugar
Both brown sugar and white sugar are commonly used for creating exfoliating scrubs. Brown sugar has finer particles than white sugar, making it gentler on the skin, which is beneficial for sensitive areas. On the other hand, white sugar has coarser granules, providing more intense exfoliation, ideal for rougher areas like elbows and heels.
Organic Sugar Considerations
When considering organic sugar for exfoliation, it’s important to opt for unrefined varieties, such as organic cane sugar. These sugars retain more of their natural molasses content, offering additional skin-nourishing properties. Organic sugar is also free from pesticides and other harmful chemicals, making it a safer choice for skincare.
Essential Ingredients
Craft a DIY exfoliator with sugar using essential ingredients like coconut oil and honey for smooth, glowing skin. Mix sugar with these natural elements to create a gentle scrub that buffs away dead skin cells, leaving your skin rejuvenated and refreshed.
When it comes to skincare, exfoliating is an essential step to remove dead skin cells and reveal smoother, brighter, and healthier-looking skin. One of the easiest and most affordable ways to exfoliate your skin is by making a homemade sugar scrub. The essential ingredients for making a sugar scrub are natural oils, sugar, and essential oils. Let’s take a closer look at each of these ingredients.
Natural Oils And Their Benefits
Natural oils are an excellent addition to your sugar scrub recipe. They help to moisturize and nourish your skin while providing a smooth texture to the scrub. Here are some popular natural oils and their benefits:
| Natural Oil | Benefits |
|---|---|
| Coconut oil | Moisturizes and hydrates the skin |
| Jojoba oil | Regulates sebum production and soothes the skin |
| Olive oil | Rich in antioxidants and helps to protect the skin from damage |
Adding Essential Oils
Essential oils not only add fragrance to your sugar scrub but also provide additional benefits for your skin. Here are some popular essential oils and their benefits:
- Lavender oil – Calming and soothing
- Tea tree oil – Antibacterial and antifungal
- Lemon oil – Brightening and detoxifying
When adding essential oils to your sugar scrub, ensure that you use only a few drops as they are highly concentrated. It’s also essential to choose essential oils that are safe for your skin and avoid using them if you have any allergies. In conclusion, natural oils and essential oils are essential ingredients for making a sugar scrub. They not only provide moisturizing and nourishing benefits but also add fragrance and additional benefits for your skin. By making your sugar scrub at home, you can customize it to your liking and avoid harmful chemicals found in store-bought exfoliators.
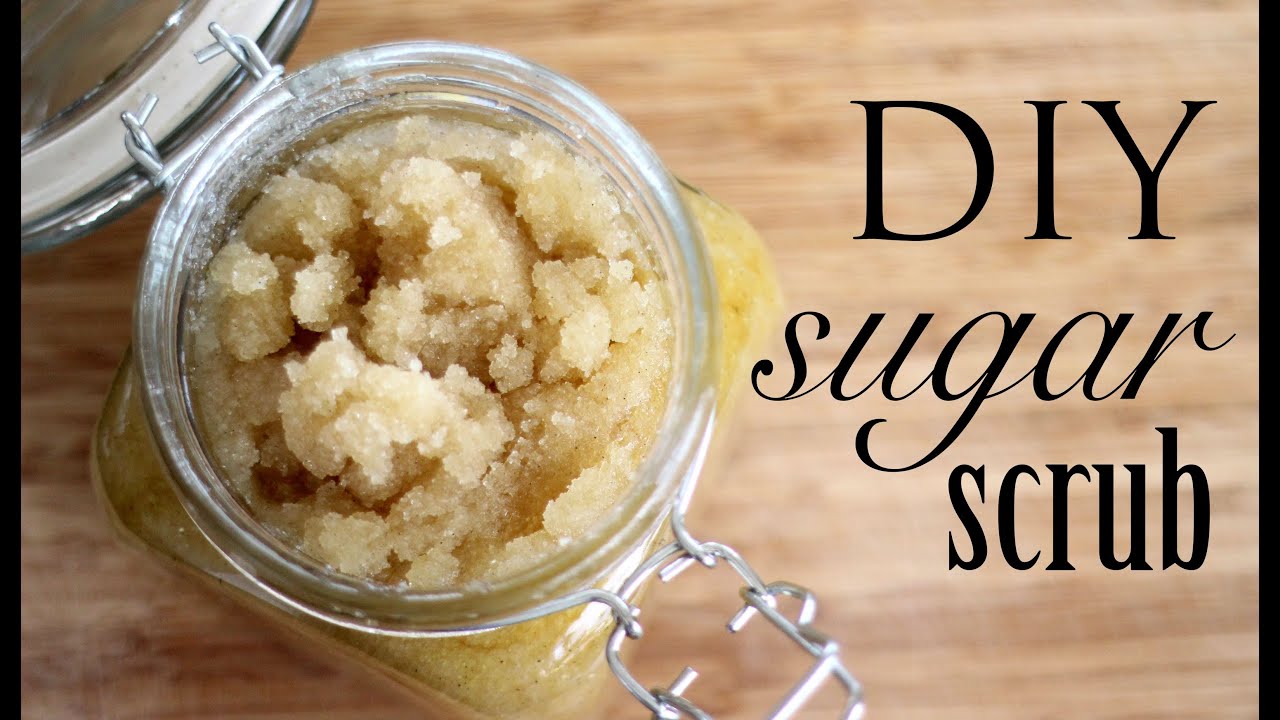
Step-by-step Guide To Making Sugar Exfoliator
Discover how to create your own sugar exfoliator at home with this step-by-step guide. Mix sugar with olive oil and essential oils for a natural and effective skincare solution. Enjoy the benefits of smooth and glowing skin with this simple DIY recipe.
Preparing Your Ingredients
Start by gathering white sugar, coconut oil, and essential oils like lavender or tea tree.
Measure out 1 cup of sugar and 1/2 cup of coconut oil in a bowl.
Choose your favorite essential oil and add a few drops to the mixture.
Mixing Techniques
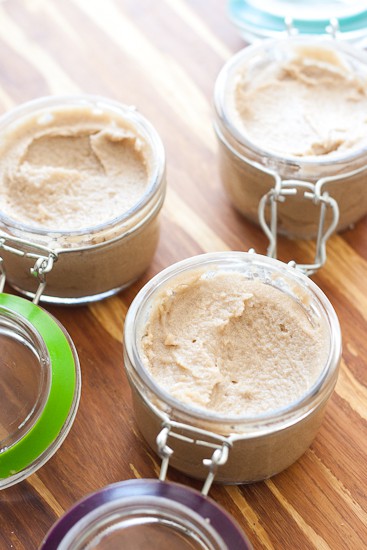
Use a spoon to mix the ingredients until a gritty paste forms.
Store your sugar exfoliator in an airtight container for future use.
Apply a small amount to damp skin and gently massage in circular motions.
Customizing Your Exfoliator
Create your own exfoliator by mixing sugar with a gentle cleanser or moisturizer. Use equal parts of sugar and the base, and customize the texture to your preference. Gently massage onto the skin for smooth and radiant results.
Making your own exfoliator with sugar allows you to customize it to suit your skin’s unique needs.
Adjusting Granularity
To change the level of exfoliation, adjust the sugar granules in your mixture accordingly.
Incorporating Additional Skincare Ingredients
Enhance your exfoliator by adding beneficial ingredients like honey, coconut oil, or essential oils.
Customizing your exfoliator with sugar is easy and fun, offering a personalized skincare experience. Experiment with different textures and nourishing elements to achieve glowing and healthy skin.
How To Use Your Sugar Exfoliator
Gently massage the sugar exfoliator onto damp skin using small, circular motions. Rinse with warm water and pat dry. Use 1-2 times per week for smooth and radiant skin.
After making your homemade sugar exfoliator, it’s important to know how to use it properly to get the best results. Here are some tips on how to use your sugar exfoliator effectively:
Proper Application Methods
To use your sugar exfoliator, first, wet your skin and apply a small amount of the scrub onto your fingertips. Gently massage the exfoliator onto your skin in circular motions, focusing on areas that are dry or rough. Be sure to avoid any open wounds or cuts as the sugar can irritate the skin. Rinse off the scrub with warm water and pat dry with a towel.
Frequency Of Use
How often you should use your sugar exfoliator depends on your skin type. If you have sensitive skin, it’s best to use it no more than once a week. If you have normal to oily skin, you can use it up to three times a week. However, it’s important not to over-exfoliate as it can damage your skin and cause irritation. Always listen to your skin and adjust your exfoliation routine accordingly. Overall, using a sugar exfoliator is a great way to keep your skin looking healthy and glowing. By following these proper application methods and frequency of use, you can achieve the best results and keep your skin looking its best.
Storing Homemade Exfoliators
Making your own exfoliator with sugar is a fantastic way to achieve smooth and glowing skin. However, storing homemade exfoliators properly is crucial to maintain their effectiveness and prevent spoilage. Follow these best practices to ensure your homemade exfoliator lasts as long as possible.
Best Practices For Longevity
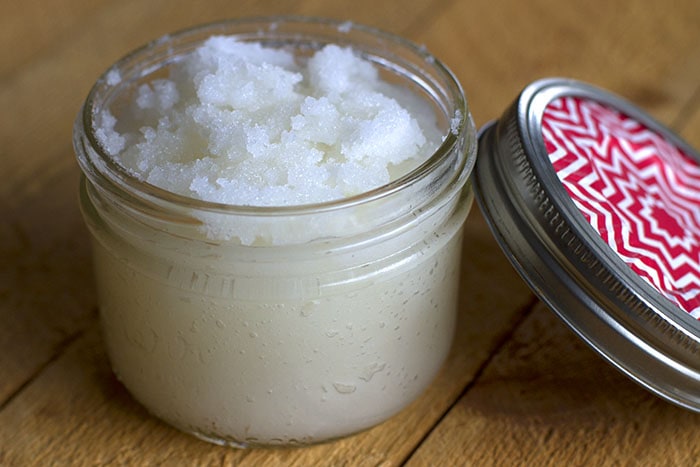
To extend the shelf life of your homemade sugar exfoliator, store it in an airtight container. Keep it in a cool, dry place away from direct sunlight, as exposure to heat and light can degrade the ingredients. Additionally, label the container with the preparation date to track its freshness. It’s also important to use clean, dry hands or a scoop to avoid introducing moisture and bacteria into the exfoliator.
Signs Of Spoilage
Despite proper storage, it’s essential to recognize signs of spoilage in your homemade exfoliator. If you notice any changes in color, texture, or smell, it’s best to discard the product. Additionally, if the exfoliator has been stored for an extended period, it’s advisable to perform a patch test on a small area of skin to ensure it remains safe and effective for use.
Real Results And Testimonials
Before And After Comparisons
See the dramatic difference for yourself with these before and after comparisons of individuals who have incorporated sugar exfoliators into their skincare routine. The results speak for themselves as dull, rough skin transforms into a smooth, radiant complexion. Witness the power of natural exfoliation as dead skin cells are sloughed away, revealing a fresh and rejuvenated appearance.
User Reviews And Feedback
Discover what others have to say about the incredible benefits of sugar exfoliators. From glowing testimonials to insightful feedback, our users have reported a myriad of positive effects, such as improved skin texture, reduced blemishes, and enhanced overall radiance. Uncover firsthand accounts of how this simple yet effective skincare solution has transformed their beauty regimen.
Frequently Asked Questions
Can I Exfoliate My Skin With Sugar?
Yes, you can exfoliate your skin with sugar. Sugar is a gentle natural exfoliant that helps remove dead skin cells.
Can I Use Raw Sugar To Exfoliate?
Yes, raw sugar can be used to exfoliate skin effectively, providing gentle and natural exfoliation.
How Long Does Sugar Scrub Last?
Sugar scrub typically lasts for 6-12 months. Proper storage in a sealed container can help maintain its effectiveness.
What Is The Best Sugar Scrub For Your Face?
The best sugar scrub for your face exfoliates gently, hydrates, and contains natural ingredients like sugar, coconut oil, and essential oils. Look for products tailored to your skin type and avoid harsh additives. Always patch test before using a new scrub.
Conclusion
Incorporating sugar into your skincare routine can provide gentle exfoliation for smooth, radiant skin. With simple ingredients and easy steps, making your own sugar exfoliator is cost-effective and customizable. Embrace the natural benefits of sugar for a glowing complexion that feels rejuvenated and refreshed.
Start your DIY skincare journey today!